If you’re looking to install a walk-in or roll-in shower for an elderly or disabled loved one, these tips can help you make the best decisions to ensure your bathroom is safe and accessible.
Decide Whether to DIY
If you need an accessible bathroom but are worried about the costs of hiring someone, you can consider installing it yourself. If you’ve done DIY projects before, you’ll have some useful experience, but be aware that if you need to alter plumbing or run new water lines, that’s an advanced skill and you’ll probably need to hire a plumber. Whether you choose to DIY or hire a professional, you’ll have your own walk-in shower before you know it!
How to Build a DIY Accessible Shower
1. Ensure you have all the necessary tools to get started.
If you’re a keen DIY-er, you’ll likely have the majority of the equipment you’ll need, such as power tools for drilling holes for support brackets and saws to get your panels down to size. Having a tape measure and spirit level handy will ensure that your measuring is completely accurate. You don’t want an uneven shower tray spreading all the water across your bathroom. Ensure your environment is safe to work in and get prepared by having the correct electrical tools to get the job done.
2. Assess your bathroom’s location and measurements.
Choose where you want to place your new shower to ensure it is located in the most convenient and accessible place for the intended user. It’s generally best to remodel a bathroom on the first floor, as stairs may be a safety hazard for the person even if they can walk. If you have more than one bathroom on the main level, we recommend remodeling the largest one as it will provide more space for a wheelchair, shower chair, and any other medical equipment you or your loved one may need in the future.
If you are adapting an existing shower, be sure to accurately measure the space you have available to check that the adaptations will be possible.
Mark out the exact location and measurements of your new walk-in shower with a pencil so you can accurately install your shower fixtures in the desired spot.
3. Choose faucets, safety rails, and other fittings.
Choose your shower fittings to match your existing bathroom décor – it will look stylish and offer complete practicality, too.
If you’re aiming for the lowest cost, you should be able to purchase a standard roll-in shower kit that includes everything that you’ll need. If you decide to do a tile shower or wet room, you’ll need key plumbing essentials for your new shower, including a shower tray and a drain with a cover. Grab bars are a must to keep your loved one safe from slipping and falling.
4. Take the proper safety precautions before demolishing the existing tub and shower.
Switch off the water supply before demolishing any walls or floor tiles to make way for any new plumbing additions.
5. Choose and install tile or a shower surround and a shower pan.
Installing a new shower offers the perfect opportunity for you to choose some new, contemporary tiles for your bathroom. Be careful when cutting these out to accommodate your new fixtures, and be sure to cut them to size to deliver a smooth, clean finish.
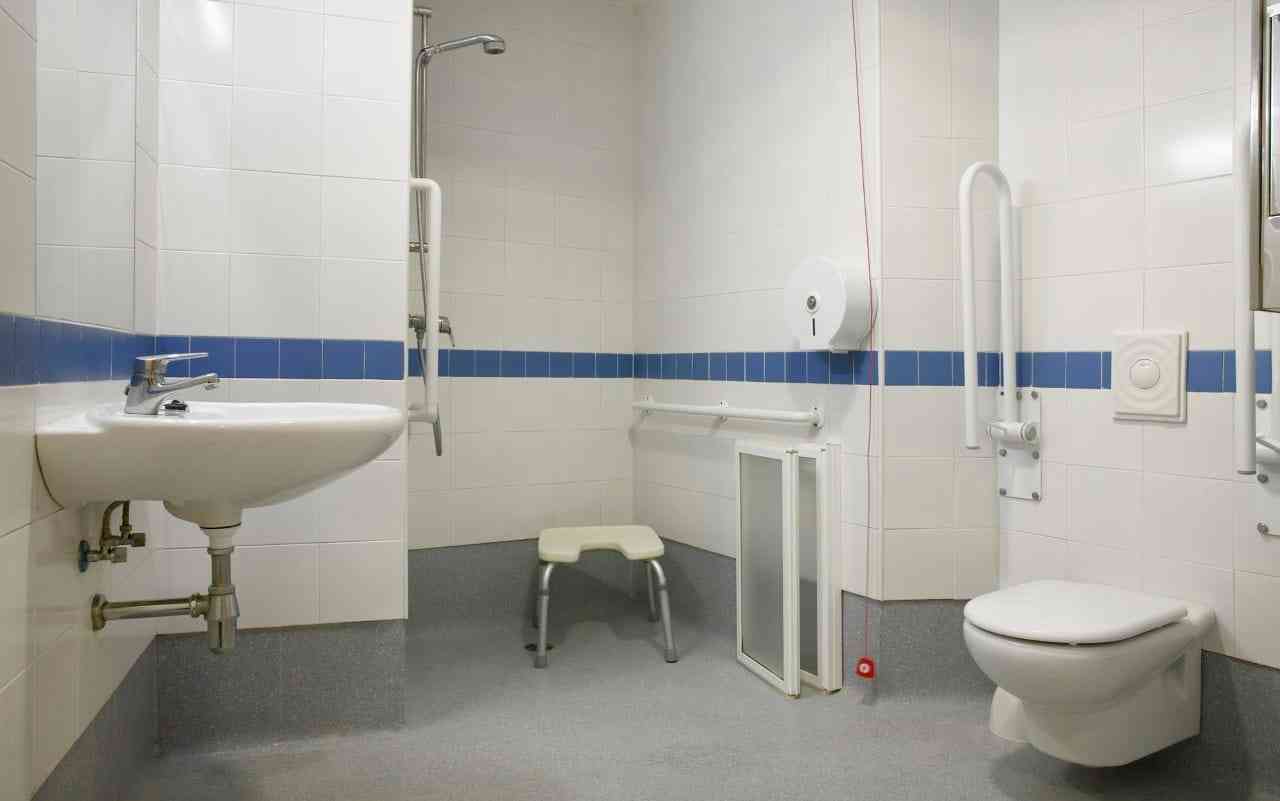
Image by ABBphoto via Deposit Photos

Follow me down the rabbit hole!
I'm Alice and I live with a dizzying assortment of invisible disabilities, including ADHD and fibromyalgia. I write to raise awareness and end the stigma surrounding mental and chronic illnesses of all kinds.